|
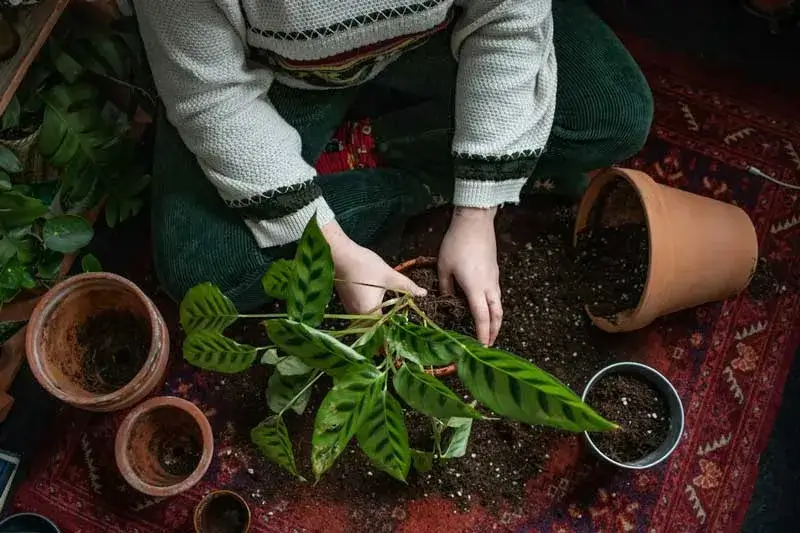
Nothing serves as a rite of passage for novice gardener more than the impassioned, ever-hopeful activity of growing tiny seeds indoors in the dead of winter. Then watching and standing by as the little seedlings push their first thin stems up through the soil, or seedling mix. Choosing the containerThe important item in beginning this little enterprise is the container. In choosing a container, you have an excellent opportunity to reuse and recycle. Old yogurt, cottage cheese or even small margarine containers can become easy seed starters as long as you punch out a few holes for drainage. The container should be three inches (7.6 cm) deep to prevent soil from drying too much. Egg cartons are often suggested, but may be too shallow. If you’re using pots or containers that previously held plants, rinse them with a little bleach and soapy water first. SoilWhen you’re planting seeds, the soil in your garden won’t do. It may carry fungus which will rot your plants. Generally, a good potting soil is recommended because it’s sterile and free of weed seeds, but a professional grade soil-less seedling mix will give you the greatest chance for success. Whatever you do, choose a mix produced specifically for seeds. Fill your container with the seed mix, leaving about half an inch at the top. Moisten the mix thoroughly before planting by placing it in a low pan filled with water for about half an hour. Once the soil is moist (not saturated), bury your seeds at the depth recommended on the seed package. The bigger the seed, the easier it is to grow, so as a beginner I plan to stick to large seeds like sweet peas, nasturtiums and marigolds. Cover the container with plastic wrap or a plastic bag to create a mini greenhouse. Some plants, like bachelor’s buttons, marigolds and sweet peas, require dark conditions to germinate, so check the package before you expose your container to light. The soil temperature is also important. It must be warm during germination (18° to 24°C) and cooler (18°C) once seedlings appear. Some seeds need cold to germinate, so check your seed packet instructions. WateringWatering is one of the riskiest parts of this job. Small seeds can get washed away; too much water can rot seeds, and too little water will dry them out. But there are a few precautions you can take. Keep seeds in their places by misting with a spray bottle rather than using a watering can. To avoid overwatering, replace only the moisture that was lost, adding just enough water to keep the soil from drying out. Check containers every day to make sure the soil remains moist. Once seedlings have appeared, remove plastic covering and pluck out weaker looking plants to limit competition and obtain stronger, healthier seedlings. A sunny, south-facing window could be all you need for light, but special grow lights or fluorescent lights may be required if you’re planting a lot of seeds or if the light is not consistent. The standard incandescent light in your lamp won’t do the job. It produces more heat than light, and may burn your seedlings rather than grow them. The amount of time required for germination and growth depends on the type of plant. Seed packets usually state the time frame, so plan for transplanting the seedlings with the last frost date in mind. May 25 is a safe final frost date in many parts of Alberta. Plants kept in their confined pots too long will be rootbound and weak when transplanted; keeping them indoors too long will make them less likely to survive low temperatures. TransplantingTo avoid transplant shock, prepare plants for the outdoors by putting them outside for short periods of time. You call this “hardening off”. Increase the periods of time outdoors over the course of a week, preferably keeping them out of the wind, and gradually move them from shade into full sunlight. The thrilling moment of taking those first tender new plants grown under your care into your garden will more than make up for the effort you put into bringing them to life during those first weeks. Growing seeds indoors is not just about saving money, trying rare varieties or even seeing green before spring. It’s a special hobby in itself that will lead you into a whole new way to spend time with plants. |
|
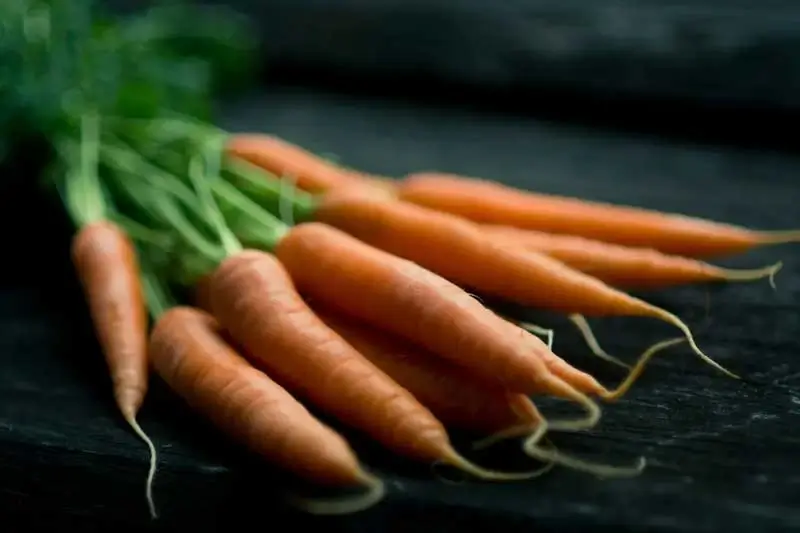
Direct seeding |
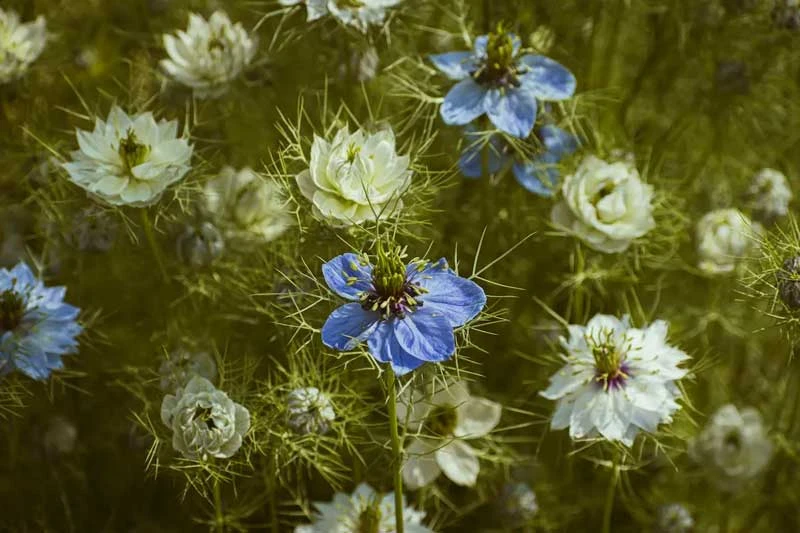
Easiest flowers that start from seeds
|