
I used to say that gardeners should start seeds in their homes mainly because it’s fun. I don’t say that any more. Now I say the main reason gardeners should start seeds at home is because the cost of plants is soaring. When a single marigold plant costs 50 to 75 cents, it’s time to buy a package of seeds for about three times that price and grow dozens of plants.
Don’t get me wrong. I don’t necessarily feel gardeners are being gouged. The cost of oil is mainly to blame: oil is used in the plastic pots, it makes greenhouse coverings and it heats the places where plants are grown. You can’t grow your plants in layers on different levels; each plant must have unshaded exposure to light. No wonder prices are skyrocketing.
So where do you start when you’re growing your own seeds? Lighting is the most important. Sure, you can start your seeds in a bright window but that only encourages them to stretch too much. What you need is a four-foot, ready-to-hang fluorescent fixture – the kind to which you simply add a few links of rope or wire or light chain and hang just about anywhere. It’s not difficult to jury-rig some way of holding the light over your plants.
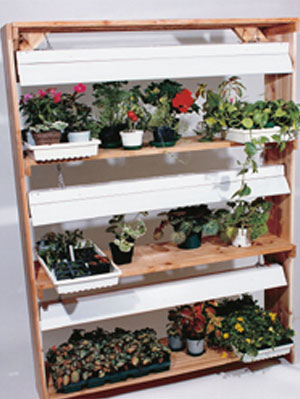
If you want to get a little more complicated, you can easily build an attractive three-tier lightstand using a design I created a number of years ago. If you’d like the plan, you can download it here. At one point in my years of growing, I’ve had a stand in my living room, another in the hall and more lights positioned over tables in the basement – a total of 17 light fixtures!
Fluorescent lights don’t have to be special grow lights. Plants will do perfectly well with the cheapest cool-white ones, but I like to add one pink-glowing grow light to each fixture because it gives off a warmer light.
And, remember this: your seedlings can never be too close to the light. The lights are cool and your plants will grow stockier when they are near the light.
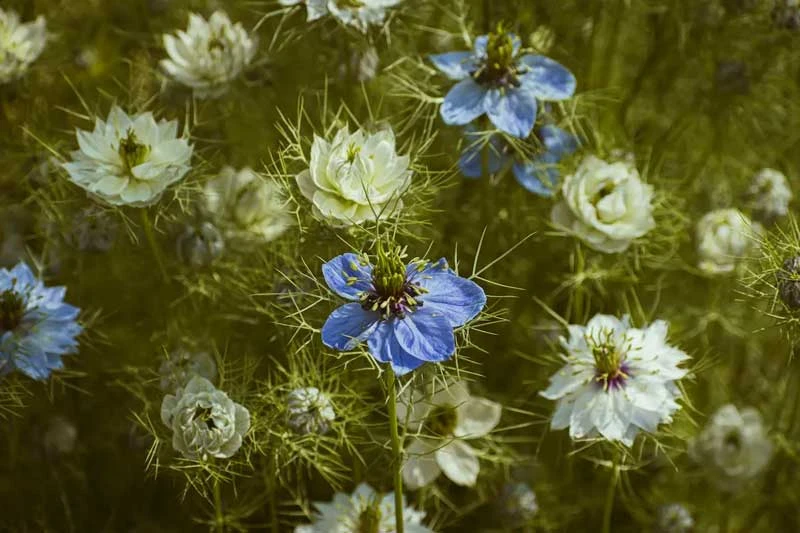
Excited? I love this whole process as I’m sure you will once you get started. Moreover, you can start the process anytime. Within six weeks of first clicking on the lights over your seeds you can have monkey flowers blooming crazily in your den, basement or living room. This plant is one of the first to bloom and low-growing, and has spotted vividly-coloured flowers – and that’s why I like to grow it. Use it in hanging baskets even in shady areas when you finally get the flowers outside. But, in the meantime, enjoy the flowers inside.
Another favourite is black-eyed Susan or thunbergia. Grow these and they’ll clamber all around your lights, a very pretty sight when there’s snow blowing outside. Where to get seeds? T & T Seeds is a Winnipeg staple, as is Lindenberg seeds in Brandon. Stokes Seeds in St. Catherines is the Canadian bible for the grower industry. Each produce catalogues and will mail them to you for free.
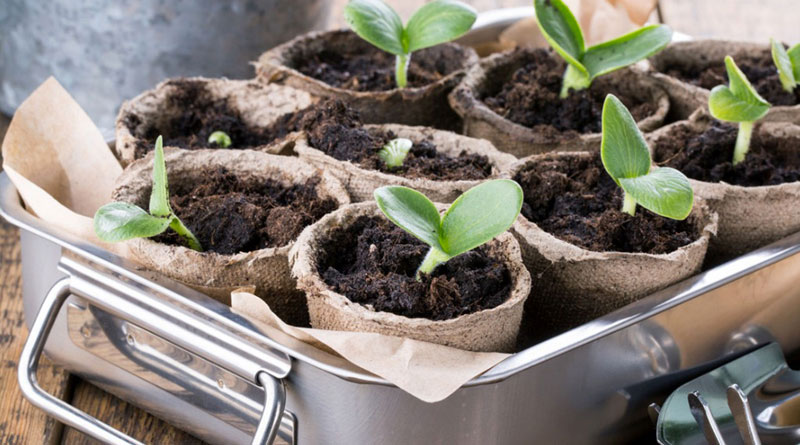
It’s a no-brainer that you need light fluffy soil, in fact, a soilless mix. And I like to use row-trays – plastic trays with a line of “ditches” – to hold your soil. These make it easy to plant different varieties of seeds. To mark the rows I snap popsicle sticks in half, but you can use adhesive tape or cut up pieces of hard plastic, with the name written on it. Seed catalogues are a good place to look for the accessories you’ll need. T & T Seeds devotes the centre two pages of its catalogue to accessories – a great place to get the necessaries. A plastic dome is a must to keep moisture over your seedlings in the tray.
Bottom heat will bring seeds up to the temperature preferred for germinating. Look for a convenient plug-in heating pad and just pop your tray on top. Or you can put the trays in your oven and simply keep the light on or use the top of your fridge, which has its own hot spot.
If there’s no air circulation, a fungus may develop at the base of developing seedlings. I recommend sprinkling cinnamon over it to cure the problem. I use “No Damp” chemical added to water in a spritzer. Watch out, though – your soil should not be sopping wet. Wait for the top of the soil to almost dry out before watering.
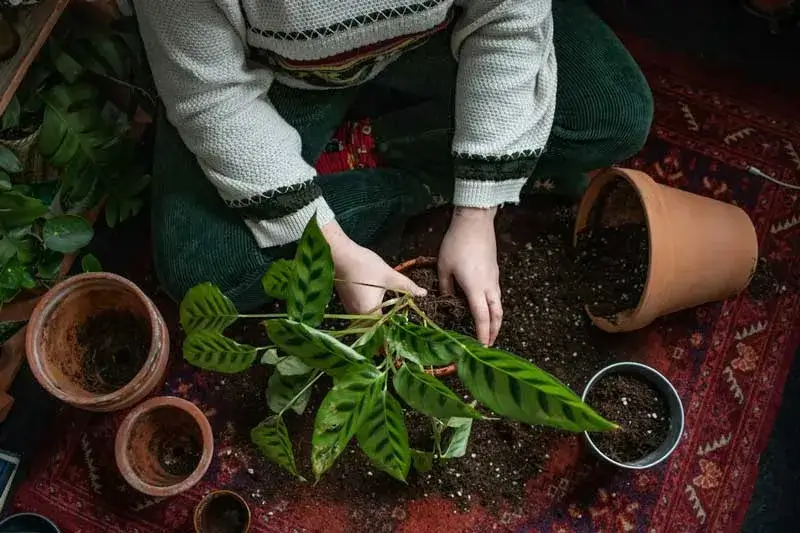
When your rows of plants have developed their second set of leaves, pull the plants apart and replant them in 9-packs. Eight 9-packs fit into a single tray, giving you 72 individual plants. Pat yourself on the back for producing about $40 worth of plants in that one tray!
Now it’s the time to get mean! I have a tiny desk fan that makes it “windy” for the plants for an hour or so a day. I also occasionally set trays on the floor at night where it’s chillier. What does this do? It makes your plants grow stockier and more ready to accept outdoor conditions later.
Fertilizing is a necessity, too. I usually use 20-20-20 but you’ll hear differing opinions on this.
I add soluble seaweed as well – but only once or twice. Seaweed is very beneficial, adding micronutrients and hormonal-like growth enhancers. Sea Magic is a good example of this. Seaweed watered over your seeds has been proven to make seeds sprout faster. But don’t overdo fertilizing – less is better than more. It’s fine to use fertilizer once in every two or three waterings.
Before planting outdoors, subject plants to outdoor conditions gradually over a week or 10-day period. Keep them out of the sun initially, then give them sun for an hour or so, and so on.
When to start your seeds? The back of seed packets will tell you. Most annuals are started six to eight weeks before planting outdoors while perennials are about 12 to 16 weeks. Hard-coated seeds could benefit from overnight soaking or scarifying (scratching with sandpaper or nicking with a knife). Some seeds germinate better with exposure to light (impatiens), some in total darkness (pansies). Seed packets generally tell you.
What seed packets won’t tell you, however, is the amount of fun you’ll have doing this. Add a timer to your lights so your plants get about 15 hours of light a day, starting just before you get up in the morning so you’re welcomed into the day with an oasis of greenery and blooms. Once you get growing your own, you’ll wonder what took you so long!
Mr. Tomato is a skilled gardener with his own lushly planted garden.
Download the plan of the lightstand here.