

By Tania Moffat
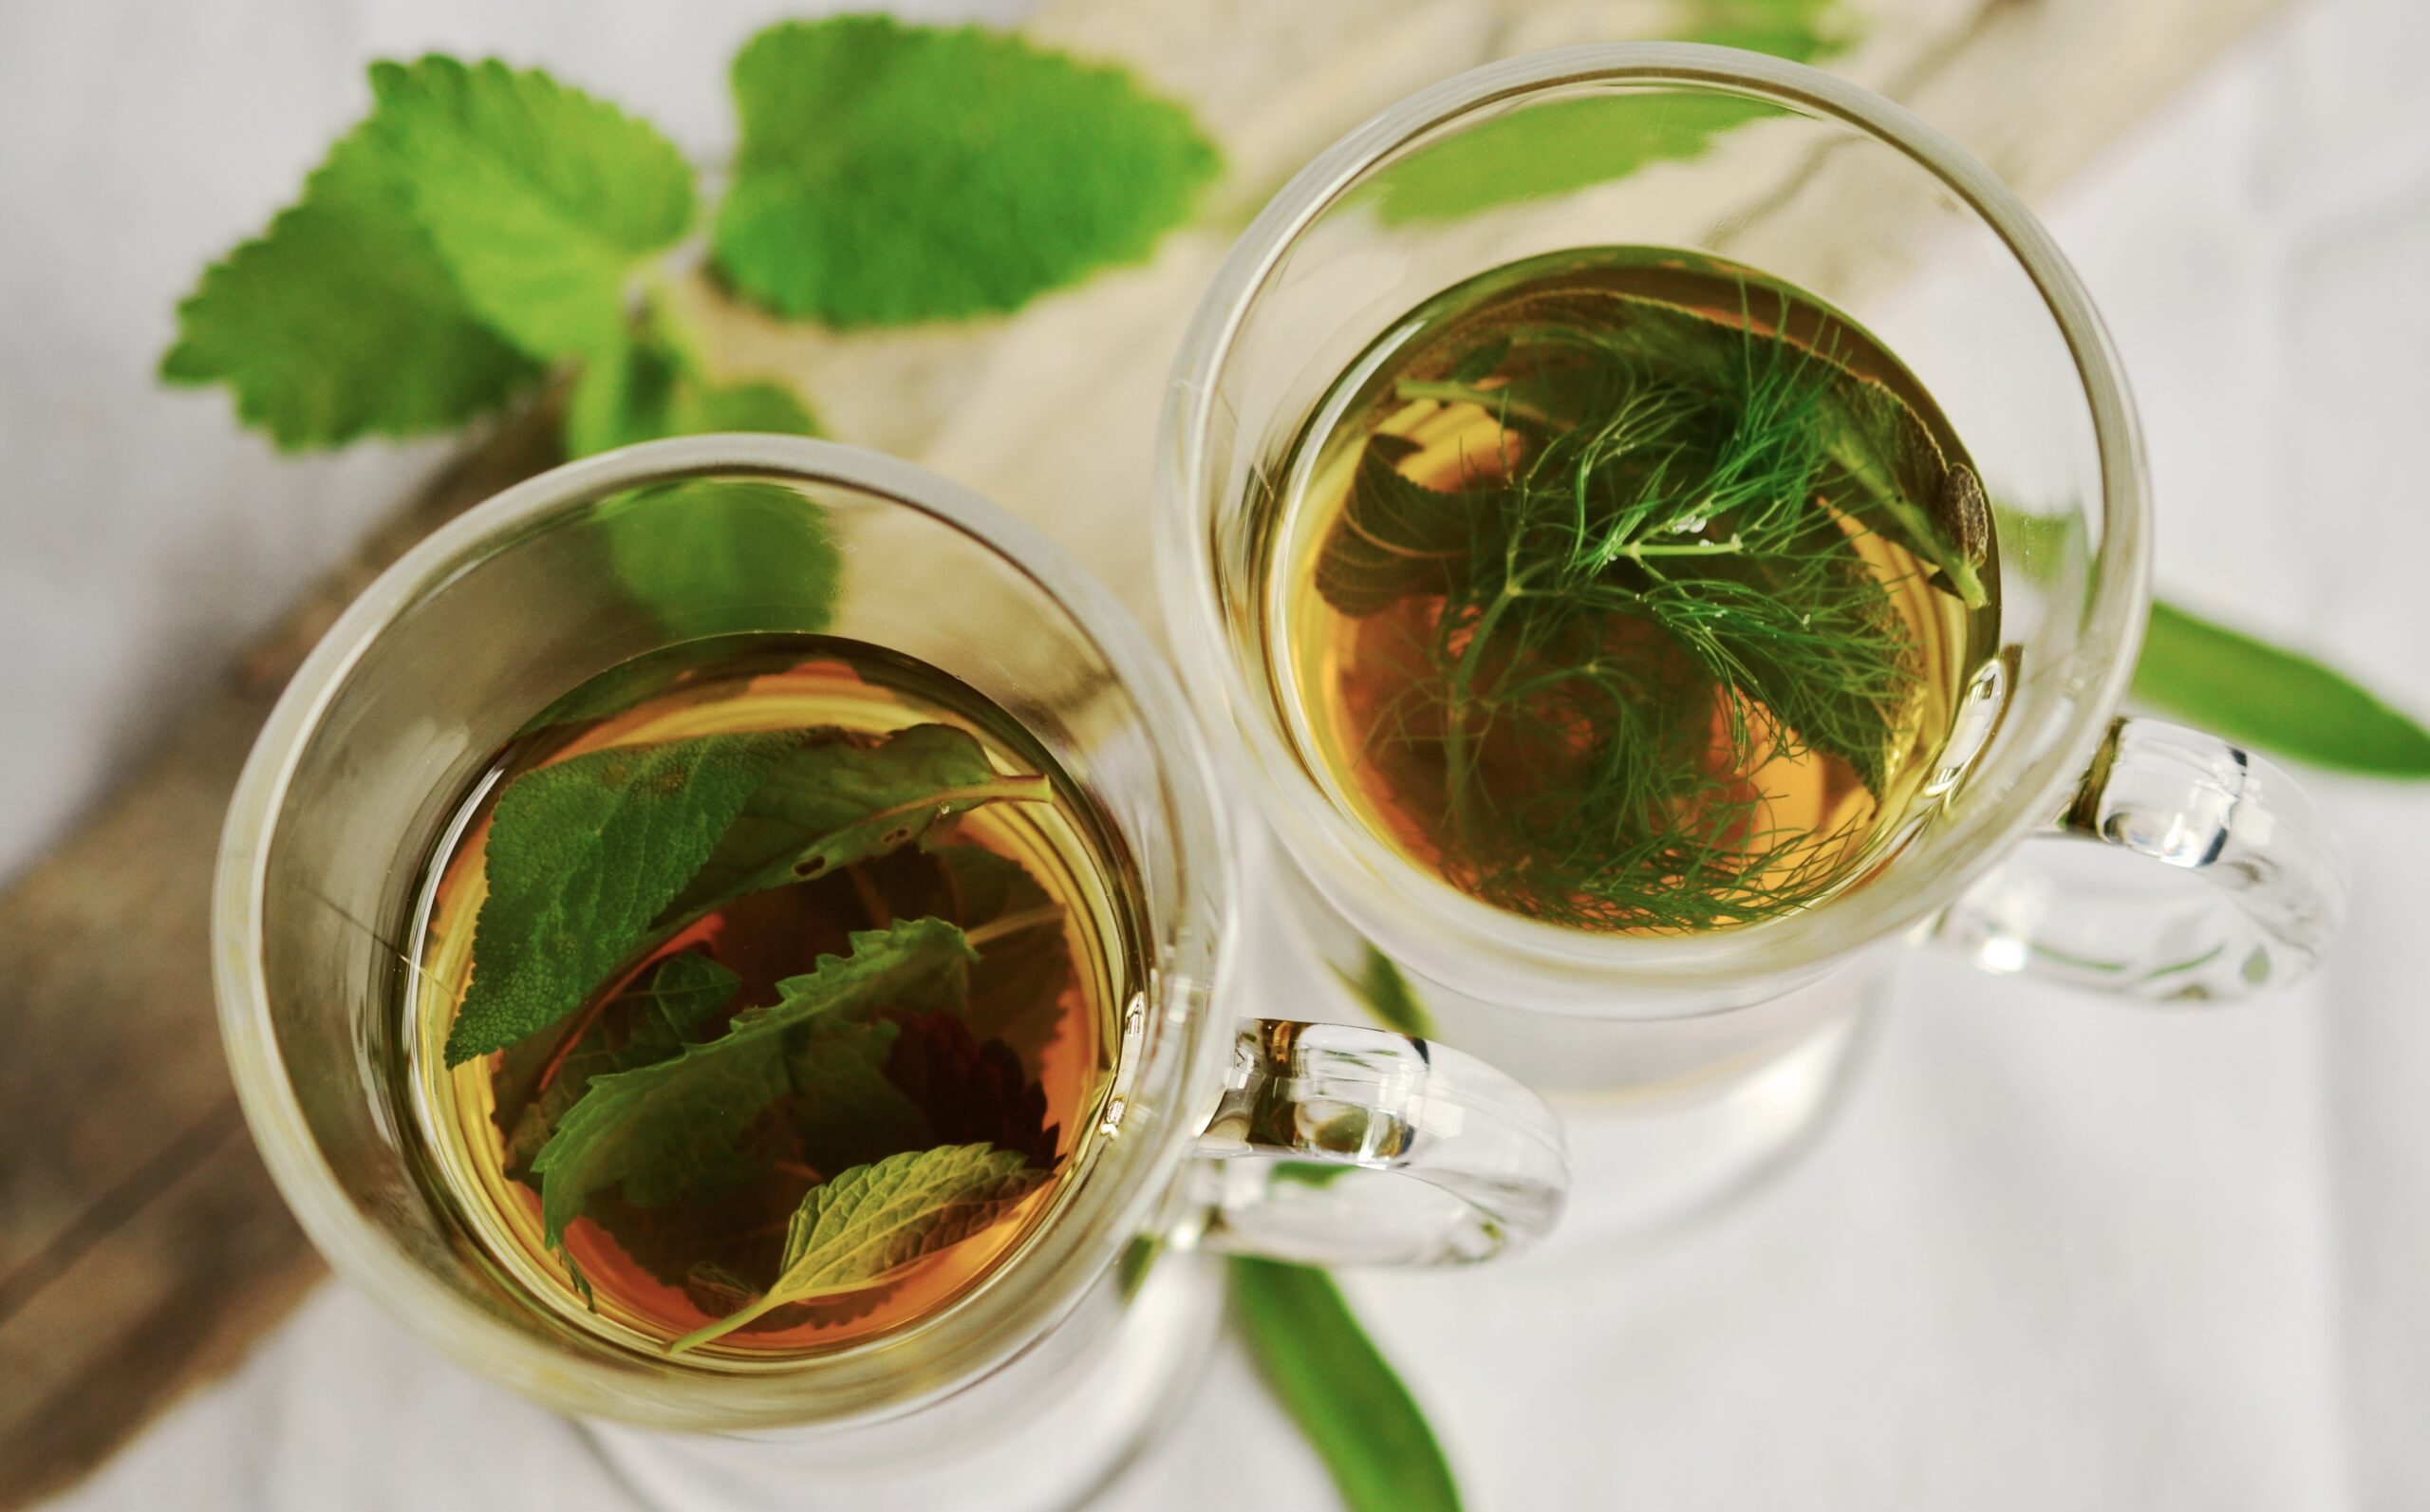
Tea is a wonderful and healthy beverage. It can soothe most of what ails us — lack of sleep and digestion issues for starters — and it is easy to grow the ingredients in your own garden. Homegrown herbs seem to make tastier teas, maybe because they are fresh and grown with love. Or, perhaps it’s because the ingredients haven’t been sitting on a store shelf for who knows how long. Best of all you can be certain that your tea leaves are organic.
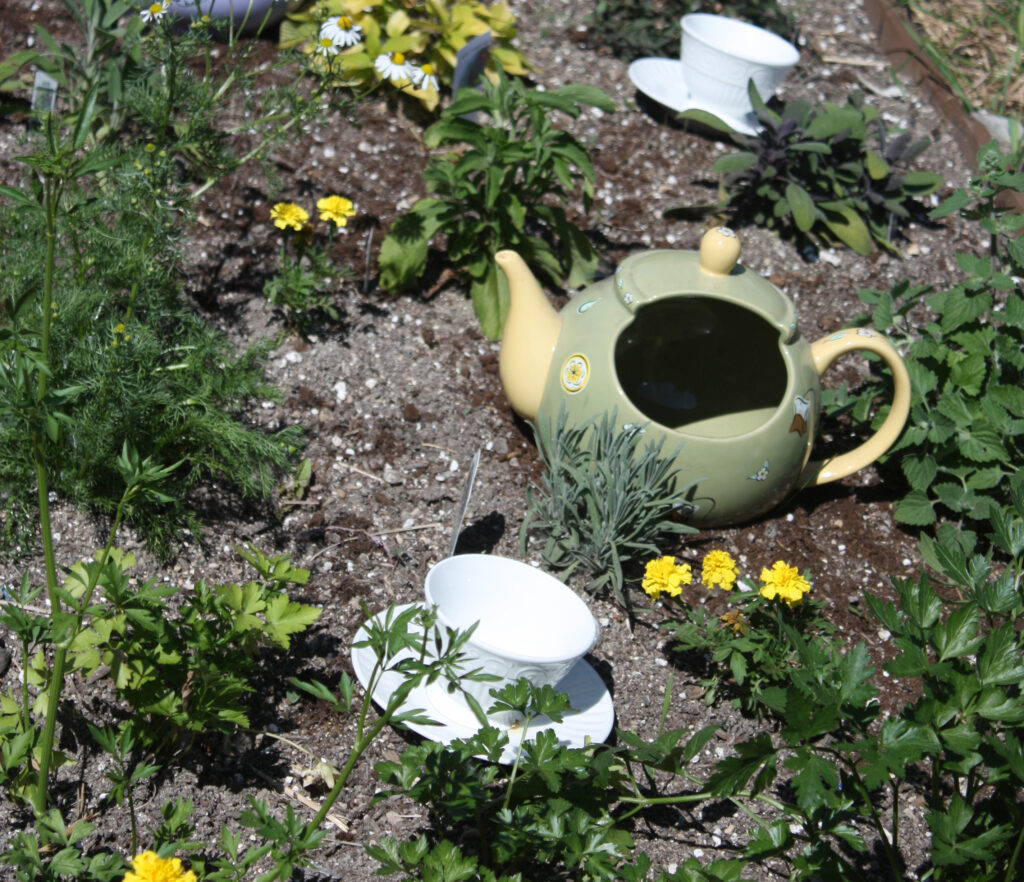
Growing a tea garden can be more rewarding than one may initially think. Mint, chamomile and lemon balm are old standbys but there are many other delightful herbs, flowers and plants you can grow to make the perfect cup. Warning: Once you get started you may become hooked.
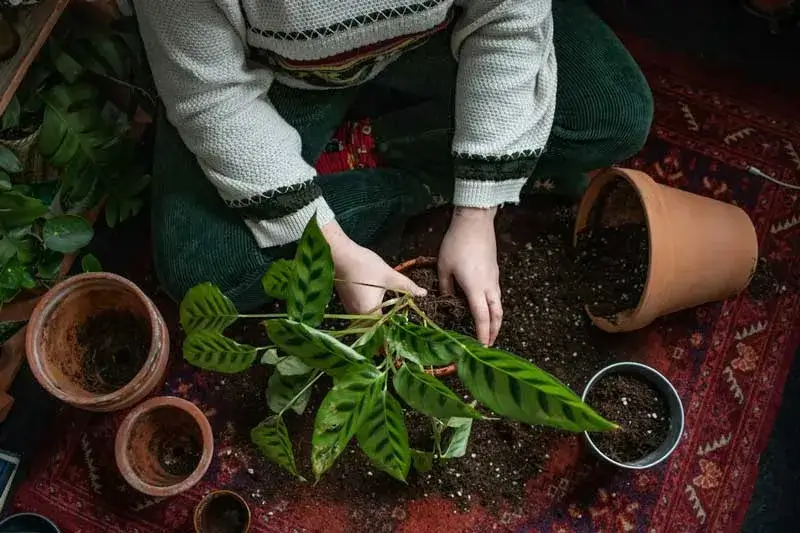
When starting out your tea garden it helps to label your plants and photograph them. Many of these herbs are perennials and this way you can identify them easily the following year.
Making herbal tea comes down to experimentation. Start with the basic herbs and experiment with different brews. Try adding chopped ginger and orange zest to lemon verbena, mixing rose hips, chamomile and pineapple sage, pineapple mint and stevia, or fresh berries with lemon balm or strawberry mint. You can also add herbs to black, white or green tea bases to add more flavour.
One note of caution, check with a professional to ensure that none of the herbs you are growing will have a negative impact with your medications or existing health conditions. Pregnant women should be especially aware of what herbs they ingest.
Drying herbs
Harvest your herbs on a dry day. Avoid harvesting during mid-day when the sun will make herbs droopy, they are best picked first thing in the morning after the dew has dried, or in the evening.
The best way to dry herbs is to strip them from their stems and dry them flat on a mesh screen. Dehydrators are wonderful as they will speed the drying process without cooking the herbs. If your oven has a low setting of (100-125 F) you can try it with the door ajar, but this can bake away flavour if herbs are dried at too high of a setting. Herbs can also be hung upside down. While naysayers point out that this method can attract dust and be a little messy, it is extremely pretty. It is hard to resist the look of fresh herbs drying in this manner.
You know your herbs are completely dry if they crumble to the touch. If they feel leathery or pliable they are not ready. Dried herbs can be sealed in air tight glass containers.
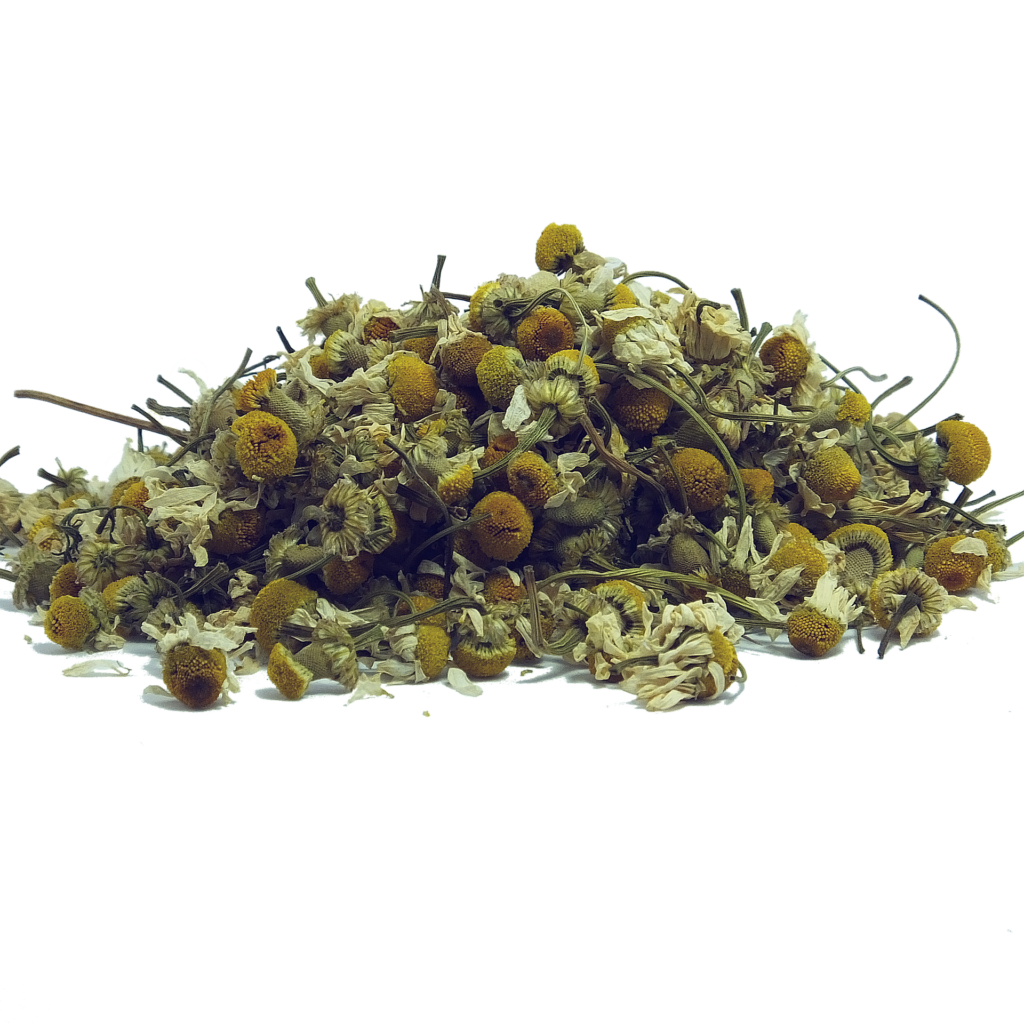
Chamomile is an easily grown herb that is very popular for it’s soothing benefits.
Making tea
One large handful of fresh herbs should do for a four to six cup teapot. Crush fresh herbs in the pot prior to adding water to release the oils. Fewer dry herbs are required, only one tablespoon per mug.
Avoid metal teapots, glass and ceramic are best. Steep herbs for three to five minutes in a covered teapot, then strain them out. Steeping for a longer period of time can make tea bitter. Leftovers can be refrigerated for iced tea. Yum!

Old fashioned sweet tea
If you have never tried old fashioned sweet tea, make this the year. All you need is a large jar with a lid, fresh herbs and cool water. Pack your herbs in the jar, fill it with water and cover it with the lid. Let it steep in the sun for a couple of hours, it only gets better with time.
Since sweet tea does not reach boiling temperatures to kill bacteria you will need to take a few precautionary measures. First and foremost, always use sterile containers. Drink the tea as soon as it is ready. It is such a refreshing treat with a spoon of sugar or honey and a couple of ice cubes after working outdoors that you may have a hard time keeping leftovers. If you do, refrigerate it and use it up within eight hours. Dispose of the tea should it begin to look thick and syrupy.