The Vegepod
Two olde dawgs: putting together a Vegepod
Last fall, as I was outside raking still more leaves from the trees that provide beautiful shade in the summer, Gord came by with a new project: a Vegepod. I didn’t know that when I heard his truck pull up and his engine click to silent. All I knew was I’d have to keep on top of the leaves before the snow flew.
“Yo, dog, you there?” he called.
“In the back,” I responded.
“I have a surprise for you!” he said, with a smile on his face. “Knowing you are always out here makes it a nice surprise. Come and give me a hand to get it out of the truck.”
A surprise? This piqued my curiosity. We walked around to the back of his truck and there was a big box that said Vegepod. “What’s this?”
“Well,” said Gord, “this is a gardening bed from Vegepod. You’re always in the garden, so I thought this might help you.”
I waited for the other shoe to fall. It did: “And I could benefit from a share in your bounty.” There it was, he wanted a share of my tomatoes next year. But the concept of a raised bed was intriguing.
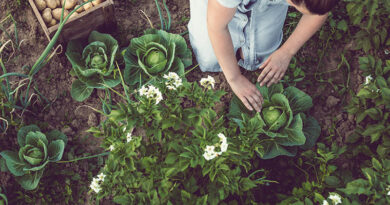
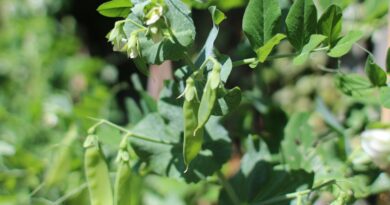
“You can grow herbs, lettuce, carrots, beetroots, onions… just about anything in the Vegepod. There’s a cover made of knitted mesh to protect your crop from UV. It also creates a microclimate to promote rapid growth. And it has a self watering system. All we have to do is put it together properly.” By this point, he didn’t need to explain; I was sold. And it was great to have the fruits of our labours land in my yard instead of someone else’s!
“Should we put it together now?” I asked, noticing my pile of leaves already reduced and scattering around the yard.
“Sure, why not? It’s not like you have anything else to do,” he grinned. He knows I hate raking leaves. I put the rake away and we got started.
The first decision was where to put the Vegepod. Veggies need lots of sunlight to ensure good growth, and the pod needed to be constructed on a hard level surface.
The instructions were pretty easy to follow. All the pieces were clearly marked. You just snap them together. From start to finish, it took about two hours.
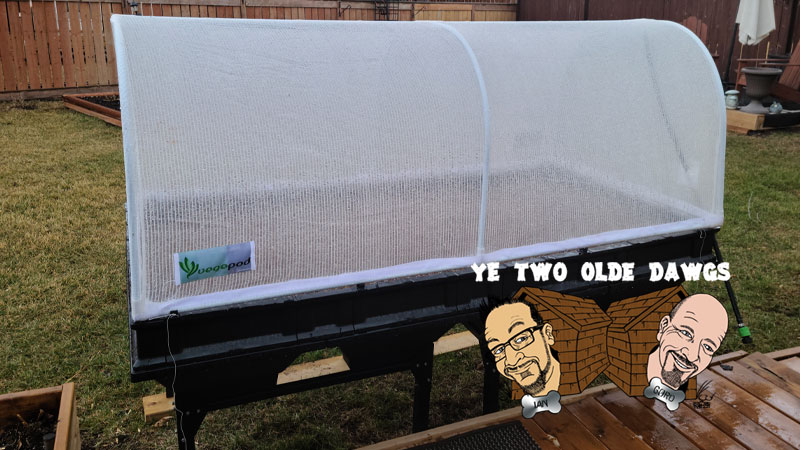
The polyethylene mesh cover has a little hose in it, and it’s attached to the base with a unique kind of hinge. The whole thing goes on a stand to get it up to waist height. Easy-peasy.
Once construction was completed, we filled it with a good peat moss mix and let it be, knowing it was ready for this spring to seed up and watch everything grow. I’m ready to get started as soon as the May 2-4 comes around! Watch this magazine to follow the performance.
I’ve got to grow a lot, seeing as I’ll be sharing with Gord. That’s okay, though; he deserves it.