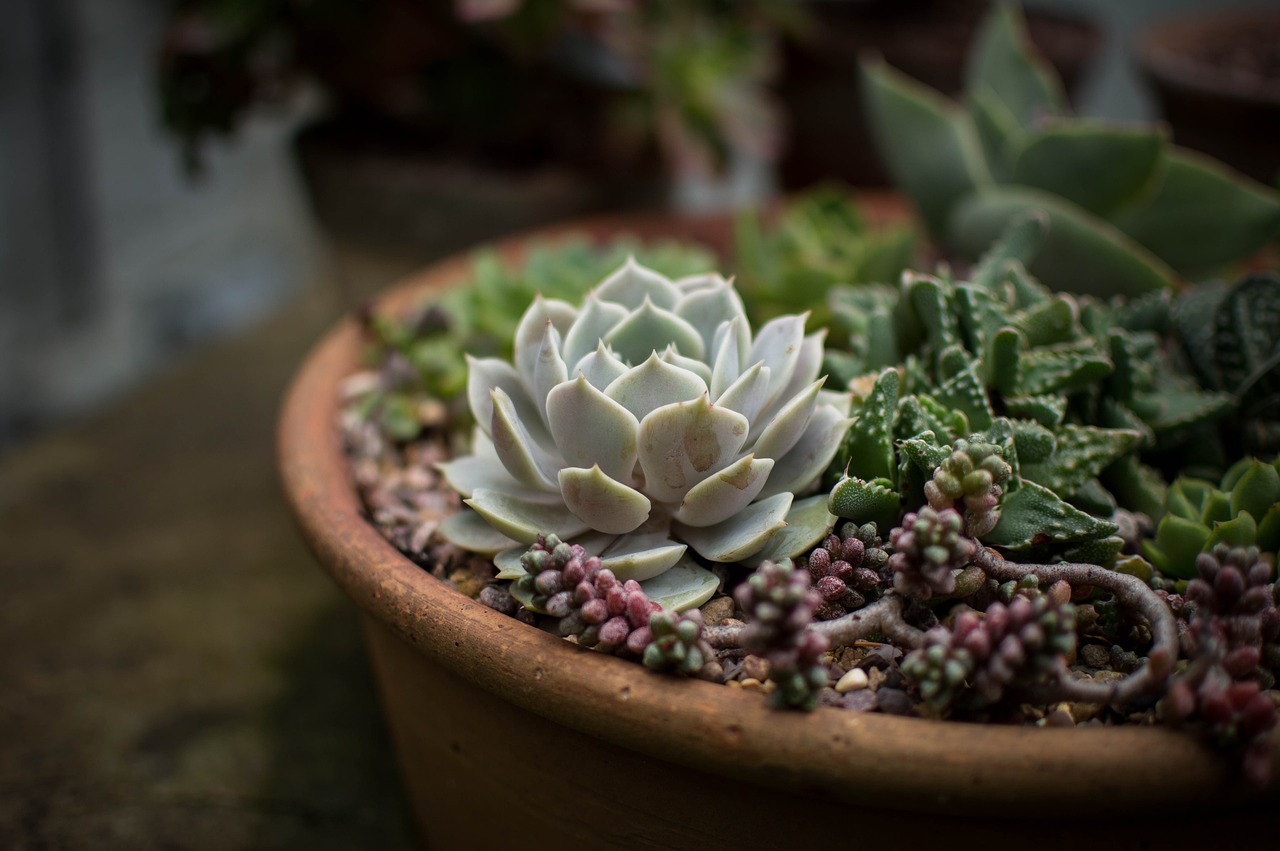
How to Create a Sensational Succulent Portrait


The parts you need can be obtained from a garage sale, a hardware store or your own backyard, garage or attic. I got my picture frame from a garage sale. The rest – the wood, the screws and the wire screen – I bought from the hardware store. Use the thicker wire mesh instead of gardening mesh. The size I went with had half-inch holes to allow the plants room to grow.
Choose a heavy gauge wire, not something thin like chicken wire. Chicken wire stretches and ruins the frame. Fabric may work with a smaller size like a 12” x 12”, but because you have to cut the fabric, it’s harder to plant in and stretching may occur.

Steps
Step one: I first took the backing off the picture frame and then lifted the glass out of the frame. This left me with just a raw wood, old-fashioned frame.
Step two: Next, I measured just the inside where the glass fit, so it was still slightly behind the wood.
Step three: I then made a wooden box to fit exactly in the same area as the glass. I used a sheet of quarter-inch plywood. This was not too heavy, yet strong enough to hold the soil from spilling out the back. It works well, and I’ve had no complaints.
Step four: Next, I cut the wire mesh to fit on top of the box and stapled it to the box. Then I took the box and put the picture frame on the front of it (on top of the wire mesh so the mesh is between the frame and the box) and I screwed the picture frame on to the box.
Step five: Fill the box with some moistened potting soil.
Step six: To plant the succulents, just cut a hole into the mesh, bend back the wire and put your plant into the hole; then bend the wire back into place and tie it together with another small piece of wire. Give it a good watering and let it sit on its back for two weeks to set its roots before you hang it up!

Enjoy!
The picture frame can be made for someone who lives in a suite or condominium, who has a small yard, or who just wants to add something unique to their garden. It’s a great tea topic, and people will admire it for months to come.
(By Shea Doherty, Alberta Home & Gardener Living )